How to Enable Discord Server Tags: A Comprehensive Guide
Discord has become an indispensable platform for communities, gaming groups, and even professional teams. Effective organization is paramount in such dynamic environments. One feature that enhances this organization is the ability to enable Discord server tags. These tags allow administrators and moderators to categorize channels, roles, and even members, making navigation and management significantly easier. This guide provides a comprehensive overview on how to enable Discord server tags and leverage them for maximum efficiency.
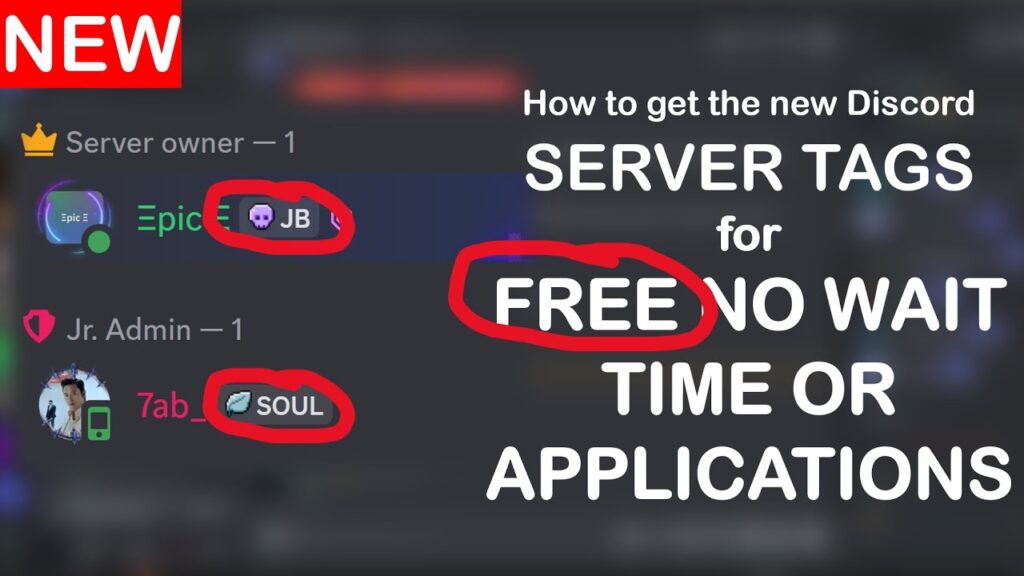
Understanding Discord Server Tags
Before diving into the practical steps, it’s crucial to understand what Discord server tags are and why they matter. Server tags, in essence, are customizable labels that can be associated with various elements within a Discord server. They help in:
- Improved Navigation: Quickly identify channels based on their purpose or topic.
- Efficient Management: Easily manage roles and permissions by grouping similar roles under specific tags.
- Enhanced Communication: Clarify the context of discussions or announcements.
The ability to enable Discord server tags is not just a cosmetic enhancement; it’s a functional tool that contributes to a more organized and user-friendly server environment. Without properly implemented tags, servers can become chaotic, leading to user frustration and decreased engagement.
Prerequisites for Enabling Server Tags
Before you can enable Discord server tags, ensure you meet the following prerequisites:
- Server Ownership or Administrative Privileges: You must be the server owner or have administrative permissions to modify server settings.
- Discord Client: Use the Discord desktop app or web browser version for full access to server settings. While the mobile app allows viewing, configuration is best done on a desktop.
- Basic Understanding of Discord Roles and Permissions: Familiarity with how roles and permissions work in Discord is essential to effectively use server tags. [See also: Understanding Discord Roles and Permissions]
Step-by-Step Guide to Enable Discord Server Tags
Here’s a detailed, step-by-step guide on how to enable Discord server tags and configure them to suit your server’s needs:
Accessing Server Settings
- Open Discord: Launch the Discord application or access it through your web browser.
- Select Your Server: Click on the server icon in the left-hand sidebar.
- Navigate to Server Settings: Click on the server name at the top left, then select “Server Settings” from the dropdown menu.
Enabling Community Features
To fully utilize server tags, you might need to enable community features. This step is crucial for accessing advanced organizational tools.
- Go to Community Settings: In the Server Settings menu, find and click on “Community.”
- Enable Community: If community features are not already enabled, click the “Get Started” button and follow the prompts to set up your community. This usually involves verifying your email and agreeing to Discord’s community guidelines.
Creating and Assigning Tags
Once community features are enabled, you can start creating and assigning tags.
- Navigate to Channel Settings: Go to the specific channel you want to tag. Click on the gear icon next to the channel name to access its settings.
- Add Tags: Look for the “Tags” section within the channel settings. Here, you can add existing tags or create new ones.
- Create New Tags: If you need a new tag, click the “Create Tag” button. Enter a name for the tag and choose a color. The name should be descriptive and easily recognizable.
- Assign Tags: Select the tags you want to associate with the channel. You can assign multiple tags to a single channel to provide more context.
- Save Changes: Ensure you save your changes by clicking the “Save Changes” button at the bottom of the channel settings.
Managing Role Tags
Tags can also be applied to roles, making it easier to manage permissions and member responsibilities.
- Go to Roles Settings: In the Server Settings menu, click on “Roles.”
- Select a Role: Choose the role you want to tag from the list.
- Add Tags: Similar to channels, look for the “Tags” section within the role settings.
- Create or Assign Tags: Create new tags or assign existing ones to the role.
- Save Changes: Save your changes to apply the tags to the role.
Best Practices for Using Discord Server Tags
To maximize the effectiveness of server tags, consider the following best practices:
- Consistency: Use a consistent naming convention for tags across your server. This makes it easier for members to understand and navigate the server.
- Descriptive Names: Choose tag names that clearly indicate the purpose or topic of the channel or role. Avoid ambiguous or overly generic names.
- Color Coding: Use different colors for different categories of tags. This provides a visual cue that helps members quickly identify the type of channel or role.
- Regular Review: Periodically review your tags to ensure they are still relevant and accurate. Update or remove tags as needed to keep your server organized.
- Communicate with Your Community: Inform your community about the tags and how they are used. This helps members understand the organization of the server and encourages them to use the tags effectively.
Troubleshooting Common Issues
While enabling Discord server tags is generally straightforward, you might encounter some issues. Here are some common problems and their solutions:
- Tags Not Appearing: Ensure that community features are enabled. Some tag features are only available in community servers.
- Permissions Issues: Verify that you have the necessary permissions to modify server settings and assign tags.
- Tag Limit Reached: Discord may have limits on the number of tags you can create. If you reach this limit, consider consolidating or removing unused tags.
- Client Issues: Sometimes, the Discord client may experience glitches. Try restarting the client or clearing the cache to resolve these issues.
Examples of Effective Tag Usage
Here are a few examples of how you can effectively use server tags in different types of Discord servers:
- Gaming Server: Use tags like “#Strategy,” “#Casual,” and “#Competitive” to categorize channels based on the type of gameplay.
- Community Server: Use tags like “#Announcements,” “#Support,” and “#General” to organize channels for different purposes.
- Professional Server: Use tags like “#ProjectA,” “#Marketing,” and “#HR” to categorize channels based on different projects or departments.
- Educational Server: Use tags like “#Calculus,” “#Physics,” and “#Literature” to categorize channels based on subjects.
Advanced Tag Management
For larger and more complex servers, advanced tag management techniques can be beneficial. This includes:
- Tag Hierarchies: Create a hierarchy of tags to provide more granular categorization. For example, you could have a main tag like “#Gaming” and sub-tags like “#Gaming-Strategy” and “#Gaming-Casual.”
- Automated Tag Assignment: Use bots or custom scripts to automatically assign tags based on certain criteria. This can save time and ensure consistency.
- Tag-Based Permissions: Configure permissions based on tags. For example, only members with the “#Moderator” tag can access certain moderation channels.
The Future of Discord Server Tags
Discord is continuously evolving, and it’s likely that the functionality of server tags will also expand in the future. Potential enhancements could include:
- More Customization Options: Additional options for customizing the appearance of tags, such as different shapes or animations.
- Integration with Other Features: Tighter integration with other Discord features, such as search and notifications.
- Advanced Analytics: Tools for analyzing tag usage and identifying areas for improvement.
Conclusion
Enabling Discord server tags is a critical step in maintaining an organized and efficient server environment. By following the steps outlined in this guide and implementing best practices, you can create a server that is easy to navigate, manage, and communicate within. Whether you’re running a small community server or a large professional server, leveraging server tags can significantly enhance the overall user experience. So, take the time to enable Discord server tags and optimize your server for success. Remember to regularly review and update your tags to keep your server organized and relevant. With a well-structured tagging system, you can improve navigation, streamline management, and enhance communication, ultimately leading to a more engaged and satisfied community. The ability to enable Discord server tags also helps new members quickly understand the server’s structure and find the channels that are most relevant to their interests. By implementing a clear and consistent tagging system, you create a welcoming and user-friendly environment that encourages participation and fosters a sense of community. The benefits of enable Discord server tags are numerous and far-reaching, making it an essential practice for any successful Discord server.
